Happy Rain Cloud Guide

Overview

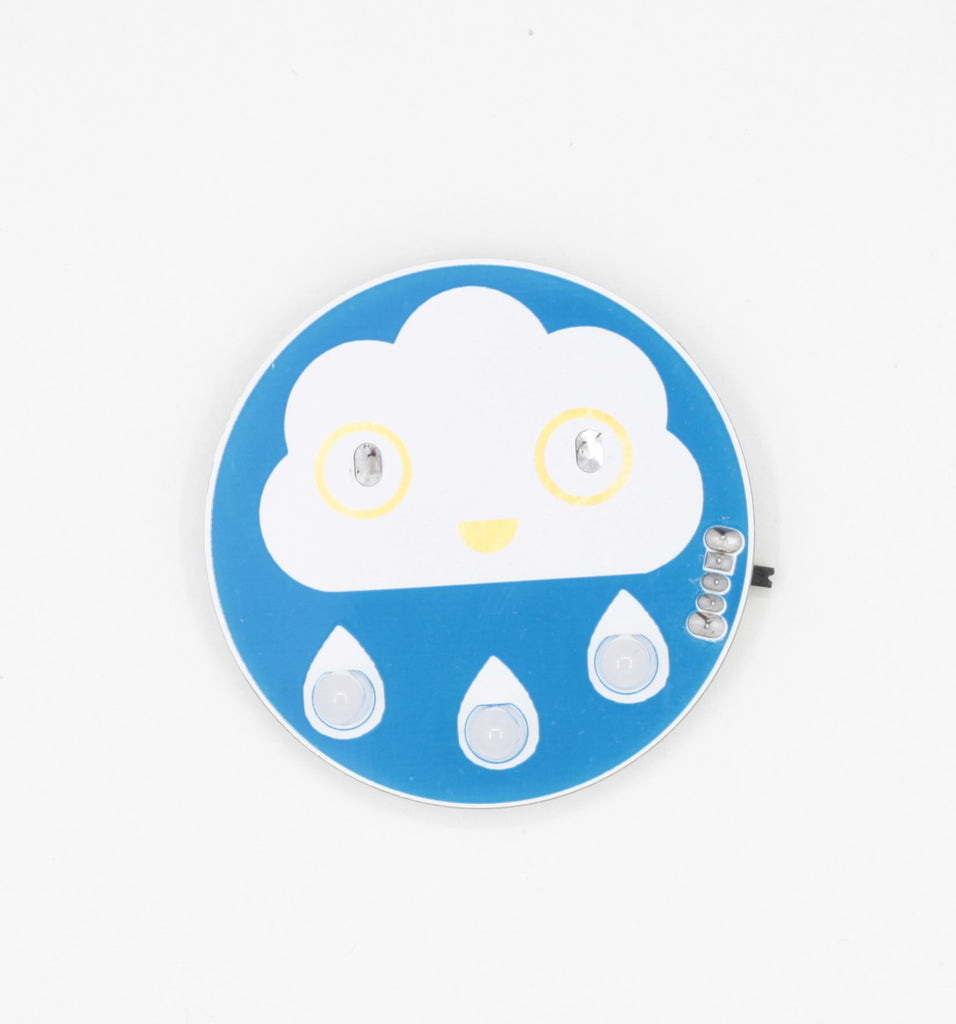
Happy Rain Cloud is a super cute and fun learn-to-solder kit!

The Happy raincloud was the first in our Solder Weather series. Check out all it's friends The Angry Storm Cloud, The Chilly Snow Cloud, Sunny Surprise, and Radiant Rainbow!
This is a super fun and simple rain cloud blinky board. It has 3 self-flashing LEDs that act as the clouds rain drops! It also has an on/off switch and includes a CR2032 battery.

This board was designed for people of all ages to have a fun, easy project to learn how to solder!

Solder the Switch

The design on this board is super simple so you can solder the components on in any order. Personally, I like to start with the switch. Be sure to not bridge any of the pads together!


If you're having trouble keeping the board from moving when soldering you can use a piece of tape to hold the board down. Just be sure not to have the tape too close to where you are soldering your joint!


*Note: The switch is made of metal so it gets hot when soldering. Be careful touching it during and directly after soldering!

Solder the LEDs

*Note: The front silkscreen shows which way the LED should be facing. The long LED leg should go through the bottom hole and the short LED leg should go through the top hole.


Solder Battery Holder

I made the holes for the battery holder snug so with a little pressure it should snap into place for easy soldering!


*Note: The battery holder is made of metal so it gets hot when soldering. Be careful touching it during and directly after soldering!


*I like to add a bit of extra solder so the clouds eyes look nice and smooth.

Insert Battery and Turn On!

You did it! Turn your board on and enjoy the dazzling display of rainbow LEDs!

The switch turns the LEDs ON and OFF.

Match the + side of the battery to the + side of the battery holder.


Place Magnet or Adhesive Pin (optional)

The magnets are very strong, use caution when handling. Place magnet on the battery holder, this will only work if the battery is installed. You can then attach it to any magnetic surface like your fridge.


If you'd like to wear your badge, you can use the ahdesive back pin provided in your kit. Remove the strip covering the adhesive and firmly press to the battery holder. You can then pin the badge to your shirt.

Elsewhere on the Web

Downloads

How to download our BOM from GitHub:
1. Click the BOM button above
2. Right click over the raw data
3. Select save as and save the CSV file
Have any questions?  Contact us!