
Overview
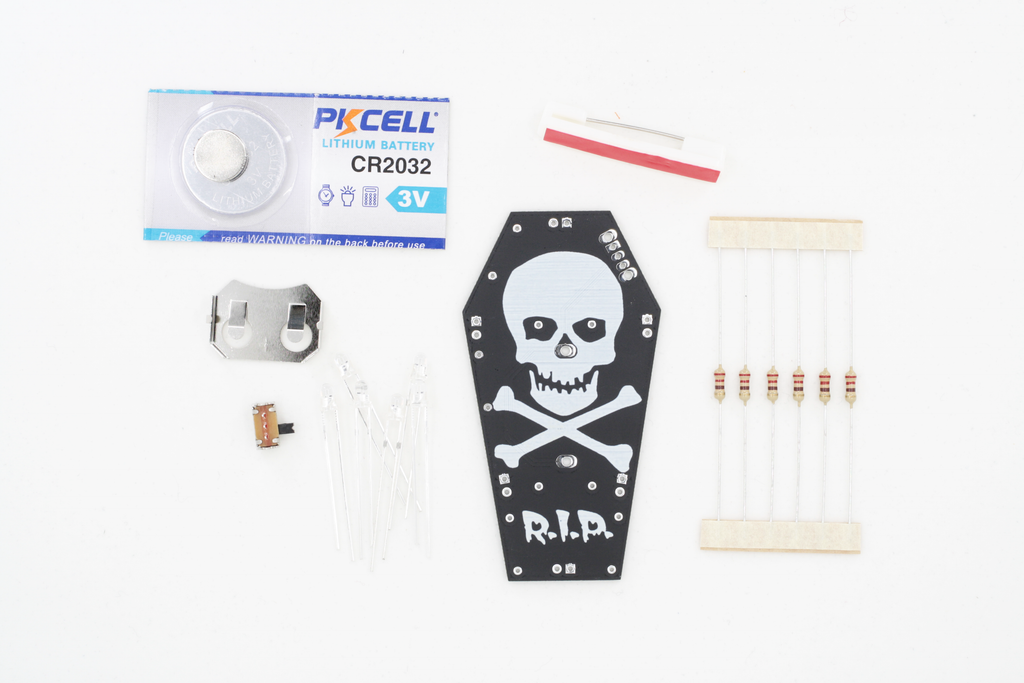
This is a backlit coffin badge with a skull and crossbones silkscreen on the front. It has 6 self-flickering LEDs that give the board a glowing effect. It also has an on/off switch and includes a CR2032 battery.
This is the third board Robyn has designed. She wanted to add some different elements from the HRC and ASC boards. Backlighting is cool and she wanted to see if she could achieve a glowing effect but still use beginner friendly through hole components. The artwork for the skull is by Gabriel VanHelsing under a Creative Commons CC-BY-SA-3.0 license and can be found Here.
This board has matte black for the solder paste layer. Continuing with Robyn's style of layout She used solder joints to give the skull pupils and a nose to make it seem more life-like. She also placed components to make the solder joints look like nails in a coffin.
Solder Resistors
I try to go in order of height when soldering components. I start with resistors because they are closest to the board.
If you're having trouble keeping the board from moving when soldering you can use a piece of tape to hold the board down. Just be sure not to have the tape too close to where you are soldering your joint!

Solder LEDs
If you're confused about which side is positive or negative, we added a reference in silk screen at the bottom of the board! Remember that the LEDs go on the back of the board so the coffin looks like it's glowing!

Solder the Switch
The switch is easy to bridge so be sure to not use too much solder!
*Note: The switch is made of metal so it gets hot when soldering. Be careful touching it during and directly after soldering!

Solder the Battery Bolder
I wrote down which color LEDs I wanted to go where. Reference numbers match on the front and back so D1 would go to R1 and so on.

Insert Battery and Turn On!
The switch is marked with ON and OFF.
Match the + side of the battery to the + side of the battery holder.


Place Magnet or Adhesive Pin (optional)
The magnets are very strong, use caution when handling. Place magnet on the battery holder, this will only work if the battery is installed. You can then attach it to any magnetic surface like your fridge.
If you'd like to wear your badge, you can use the ahdesive back pin provided in your kit. Remove the strip covering the adhesive and firmly press to the battery holder. You can then pin the badge to your shirt.


Elsewhere on the Web
Downloads
How to download our BOM from GitHub:
1. Click the BOM button above
2. Right click over the raw data
3. Select save as and save the CSV file
Have any questions? Contact us!