Blinky LED Plushie Guide

Overview

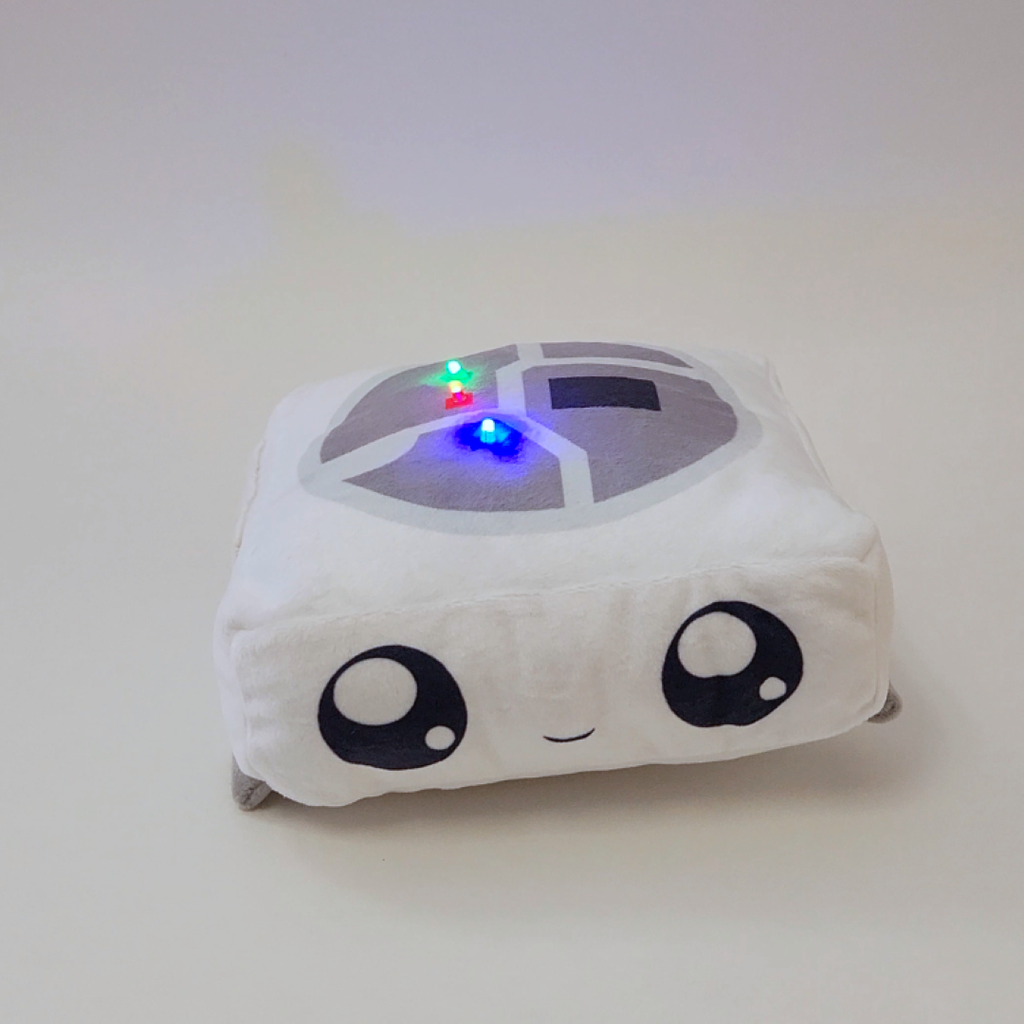
Have you hugged an LED today? Blinky is soft, squishy, and can brighten up any room! They are an adorable plushie WS2812 (an addressable RGB LED chip) which blinks red, green, and blue LEDs if you choose to make the kit! You can also choose just the plushie if you're happy with just a squishy faux-LED.

Blinky is our unofficial mascot here at Alpenglow Industries because we love LEDs!  With their big, cheerful eyes and smile, Blinky is the perfect personification of the joy we feel about LEDs!  You can put together the kit by twisting wires together, no soldering is required. 

Each kit comes with the following items included:
1 - Stuffed plushie (about 6 x 6 inches)
1 - 3mm red LED
1 - 3mm green LED
1 - 3mm blue LED
3 - Red wires
3 - Blue wires
2 - 499ohm resistors
1 - Battery holder
2 - CR2032 batteries

$
24.95
 
$

Unpack your Kit

Each kit comes with the following items included:
1 - Stuffed plushie
1 - 3mm red LED
1 - 3mm green LED
1 - 3mm blue LED
3 - Red wires
3 - Blue wires
2 - 499ohm resistors
1 - Battery holder
2 - CR2032 batteries

Remove stuffing

Remove the stuffing from the plushie and set aside.

Push LEDs through

Push each LED through the corresponding square on the top of the plushie. Be sure to support the LED legs when pushing through so they don't bend. Make sure that all LEDs are facing the same direction. Once all LEDs are through, turn the plushie inside out.

Bend LED legs & add resistors

Bend the LED legs and wrap the resistors around the positive leg of the red and green LEDs. Bend the LED leg over to secure resistor)

Twist red wires to positive LED leg & resistors

Twist the red wires to the resistors and the positive leg of the Blue LED, Bend in half to secure wire.

Twist blue wires to negative LED legs

Twist the blue wires around the negative leg of the LEDs. Bend leg in half to secure the wire.

Put battery holder wires through the hole in the pocket

Push the wires through the pocket so the wires are on the inside of the plushie and the battery holder is on the outside.

Attach red wires to the positive wire of the battery holder

First, remove the pre-cut insulation from the ends of the battery holder wires. Gather all of the red wires together along with the positive wire of the battery holder. Twist all the wires together and bend in half.

Wrap tape around the exposed negative LED legs and attach blue wires to the negative wire of the battery holder

Covering the LED legs and wires prevents the LEDs from shorting when you put the stuffing back in. Gather all of the blue wires together along with the negative wire of the battery holder. Twist all the wires together and bend in half. Pictured is electrical tape but we found that Kapton tape works better.

Wrap tape around the Negative battery holder and blue wires.

This prevents the LEDs from shorting when you put the stuffing back in. Pictured is electrical tape but we found that Kapton tape works better.

Turn the plushie right-side out and put stuffing back in the plushie

Make sure stuffing is pushed into the corners when re-stuffing the plushie

Insert Batteries & Turn On!

Turn on and enjoy!

The battery holder has an ON and OFF switch.

Insert the batteries in the battery holder then slide the battery holder into the side pocket with the switch side facing the opening

Elsewhere on the Web

Have any questions?  Contact us!