
Overview
Get your daily dose of fiber with this swirly sheep! Anyone can put together this quick and easy kit, no special skills or tools are needed. This crafty decoration is created by twisting together a simple circuit with your fingers. In each kit we provide the following, all you'll need is a phillips (+) screwdriver. Full instructions are here!
1 - CR2032 Battery
1 - Battery Holder
2 - Yellow, 3mm LED
2 - Green, 3mm LED
2 - Blue, 3mm LED
3 - Red Wires
6 - Blue Wires
3 - 470 ohm Resistors
2 - Wood Screws
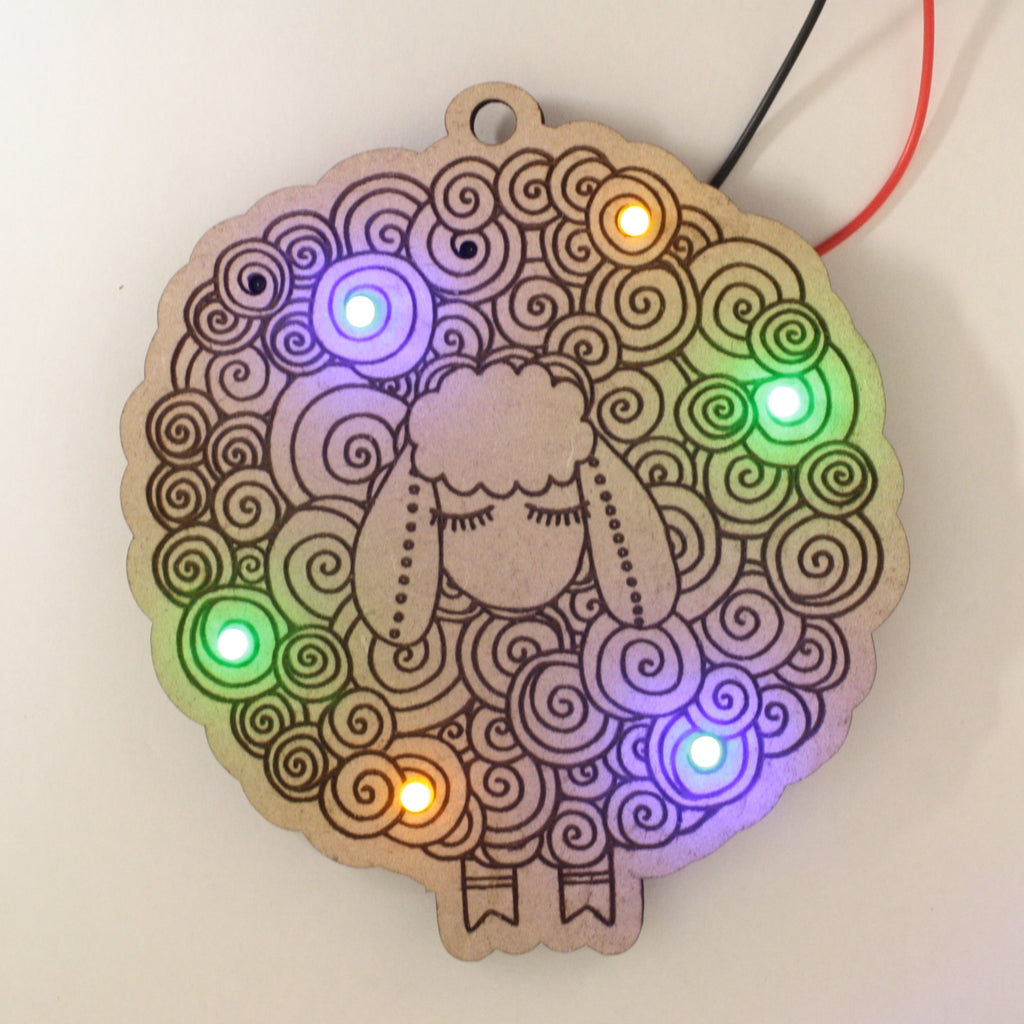
1 - Swirly Sheep Ornament
About the Kit:
This super cute artwork is by Maria of A Needle Runs Through It, who also provided artwork for our Sock It To Me and Sweater Weather ornament kits.
With this kit, we're bringing back old-school breadboards! You assemble it by sticking the LEDs through the board, wire-wrapping around them with the provided wires, wrapping the same wires around 2 screw posts, and also twisting the battery holder wires around the screw posts. This is a great activity for those new to electronics, or for old-school hacks that just want to have a bit of fun with a project that's quick and gratifying.
A Note on Battery Life:
It is very difficult to balance a love for All Things Blinky with small unobtrusive battery sources. We've provided a CR2032 battery and holder with this kit precisely because it's small and can't provide a ton of current (and is therefore much safer when accidentally shorted than a rechargeable lithium ion). But this means there's not a lot of overhead for the blue in each of the RGB LEDs. They start out very bright and rainbow-flashing, and then blue and magenta colors fade relatively quickly. Red, green, and yellow stick around for a lot longer, and then it diminishes to all red at the very end. Since these are holiday-themed, we were OK with this behavior. One CR2032 will generally last about 15 hrs until it completely goes out, so we recommend leaving it on for a few hours in the evening, instead of all day long. If you'd like longer battery life, you can use 2 AA or AAA batteries instead. You'll need a holder for them like this or this.
Printable Instructions
Unpack your Kit
1 - Battery
1 - Battery Holder
2 - Yellow, 3mm LED
2 - Green, 3mm LED
2 - Blue, 3mm LED
3 - Red Wires
6 - Blue Wires
3 - 470 ohm Resistors
2 - Wood Screws
1 - Ornament

Screw screws into holes

Place first 2 LEDs


Attach the Resistor and Red Wire


Repeat Steps 3 & 4 with the remaining LED colors


Attach blue wires to short LED legs


Attach Positive battery wire & resistors to screw


Attach Negative battery wire and blue wires to screw


Place Battery in Battery Holder & Turn On!
The battery holder has an ON and OFF switch.
The battery sits in the battery holder and is held in place once the battery holder is closed.

