


Details
One Ruler to Knit Them All!!!
There's a subculture in tech making, of people who make circuit board rulers. It's exactly what it sounds like - a ruler made out of circuit board material, that helps you make circuit boards by having handy references on it for patterns and sizes of things that go on circuit boards. We've made a few of those, and got to thinking - why haven't we made a Knitting Circuit Board Ruler? Well, now we have!
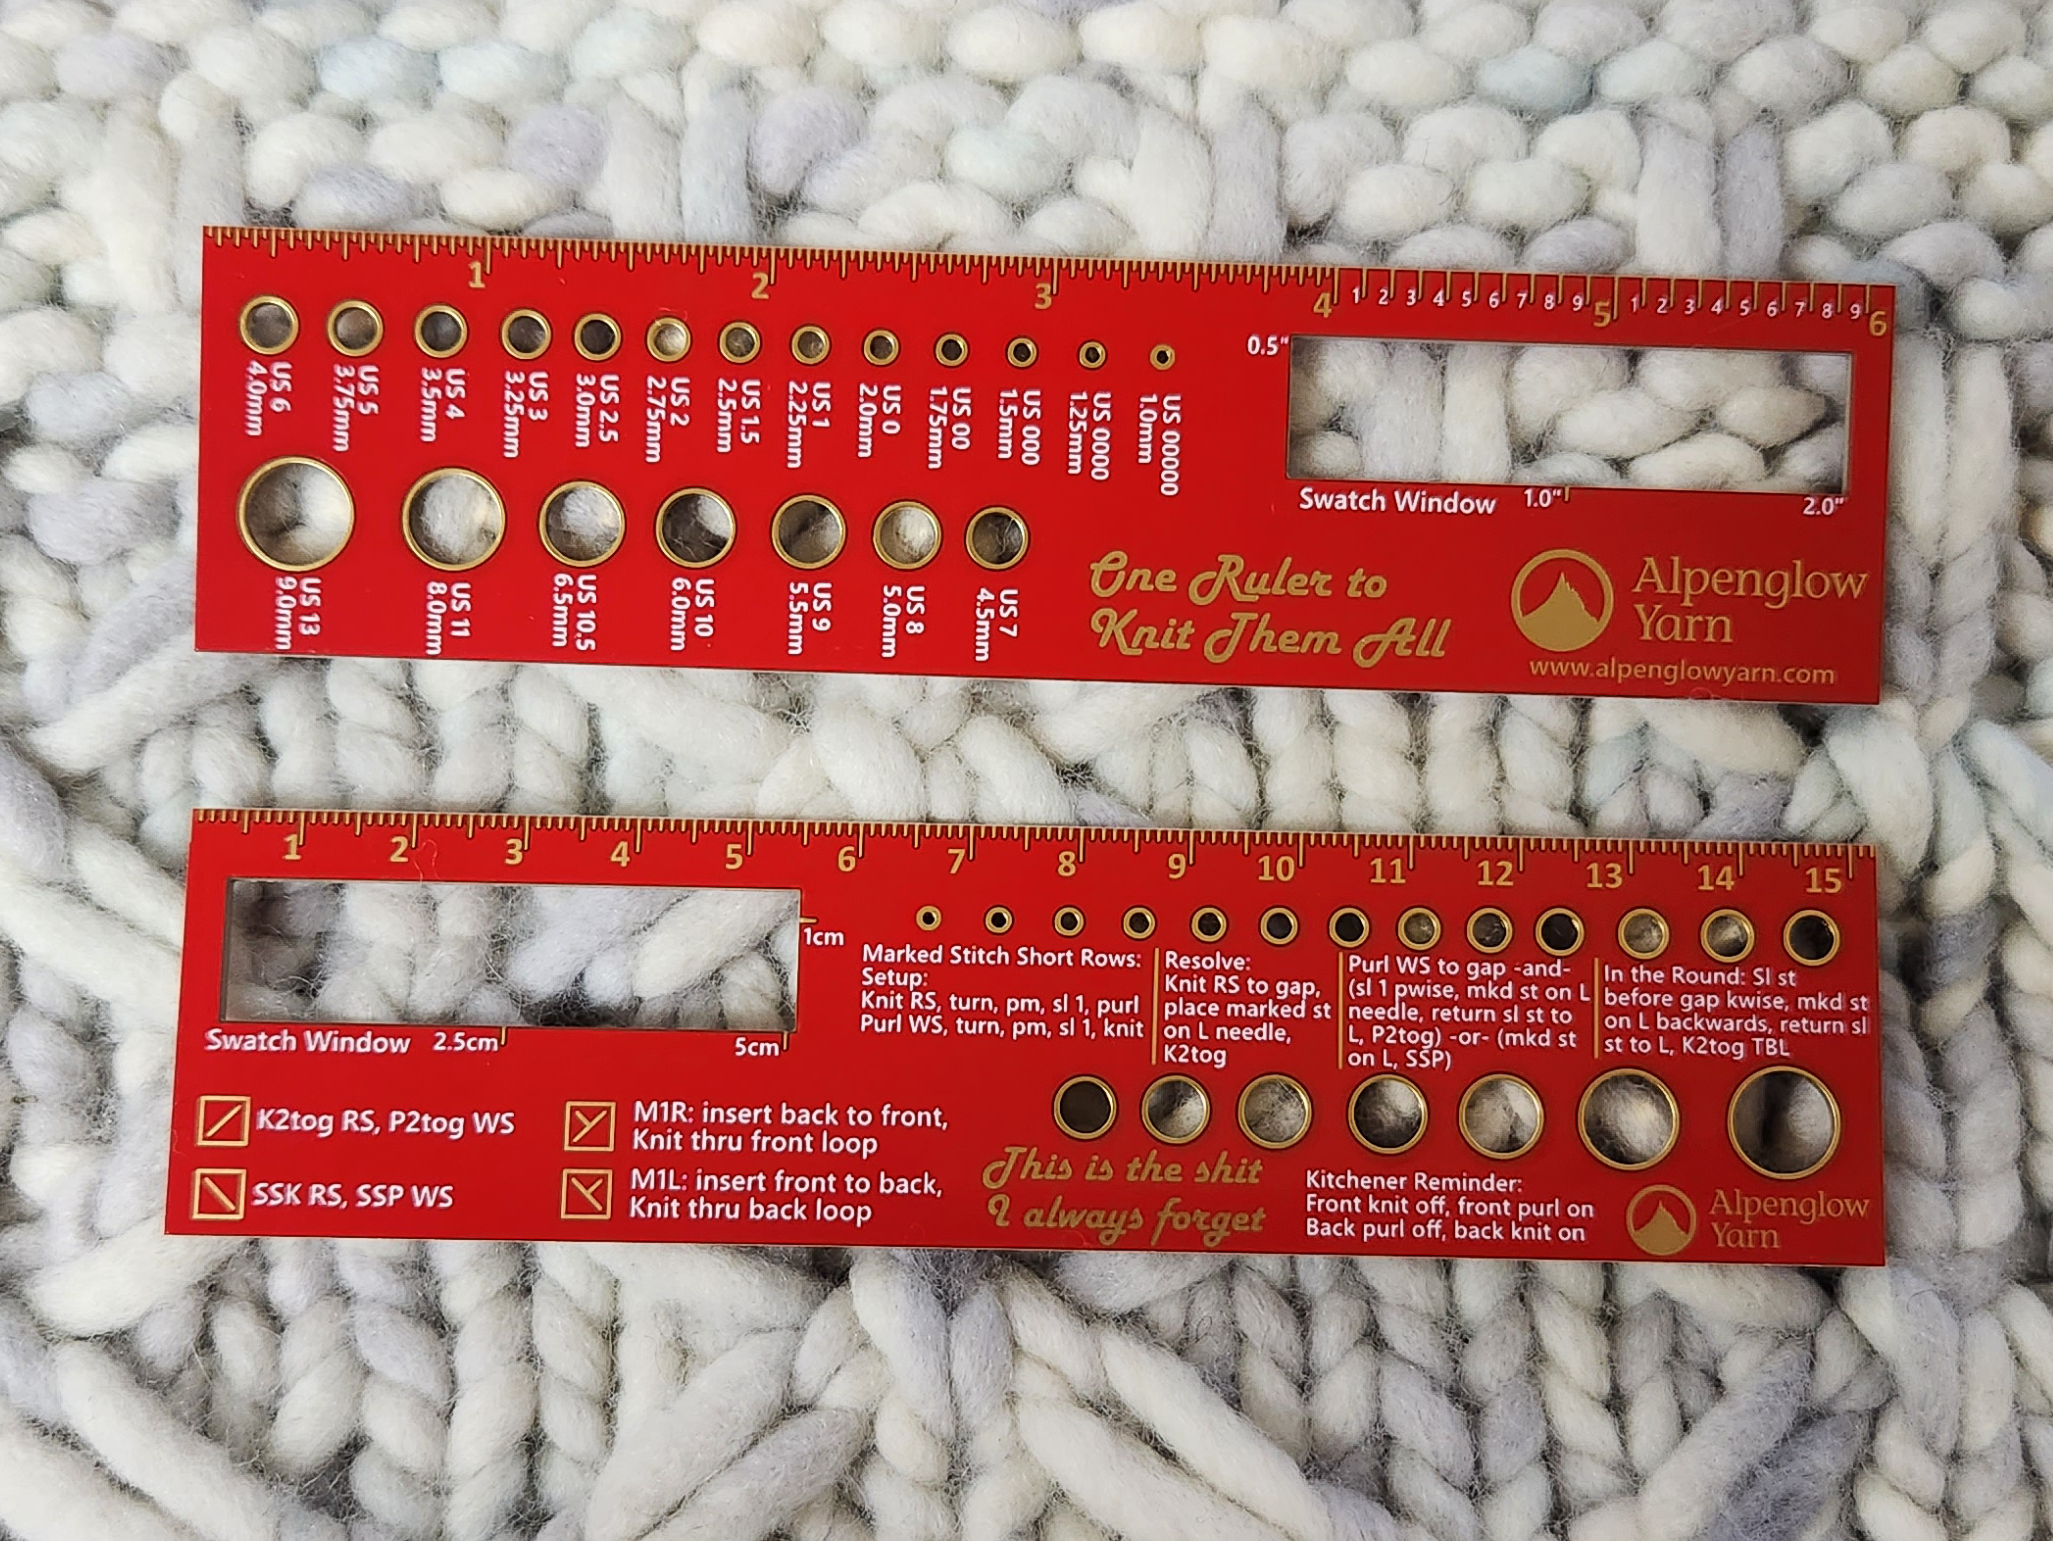
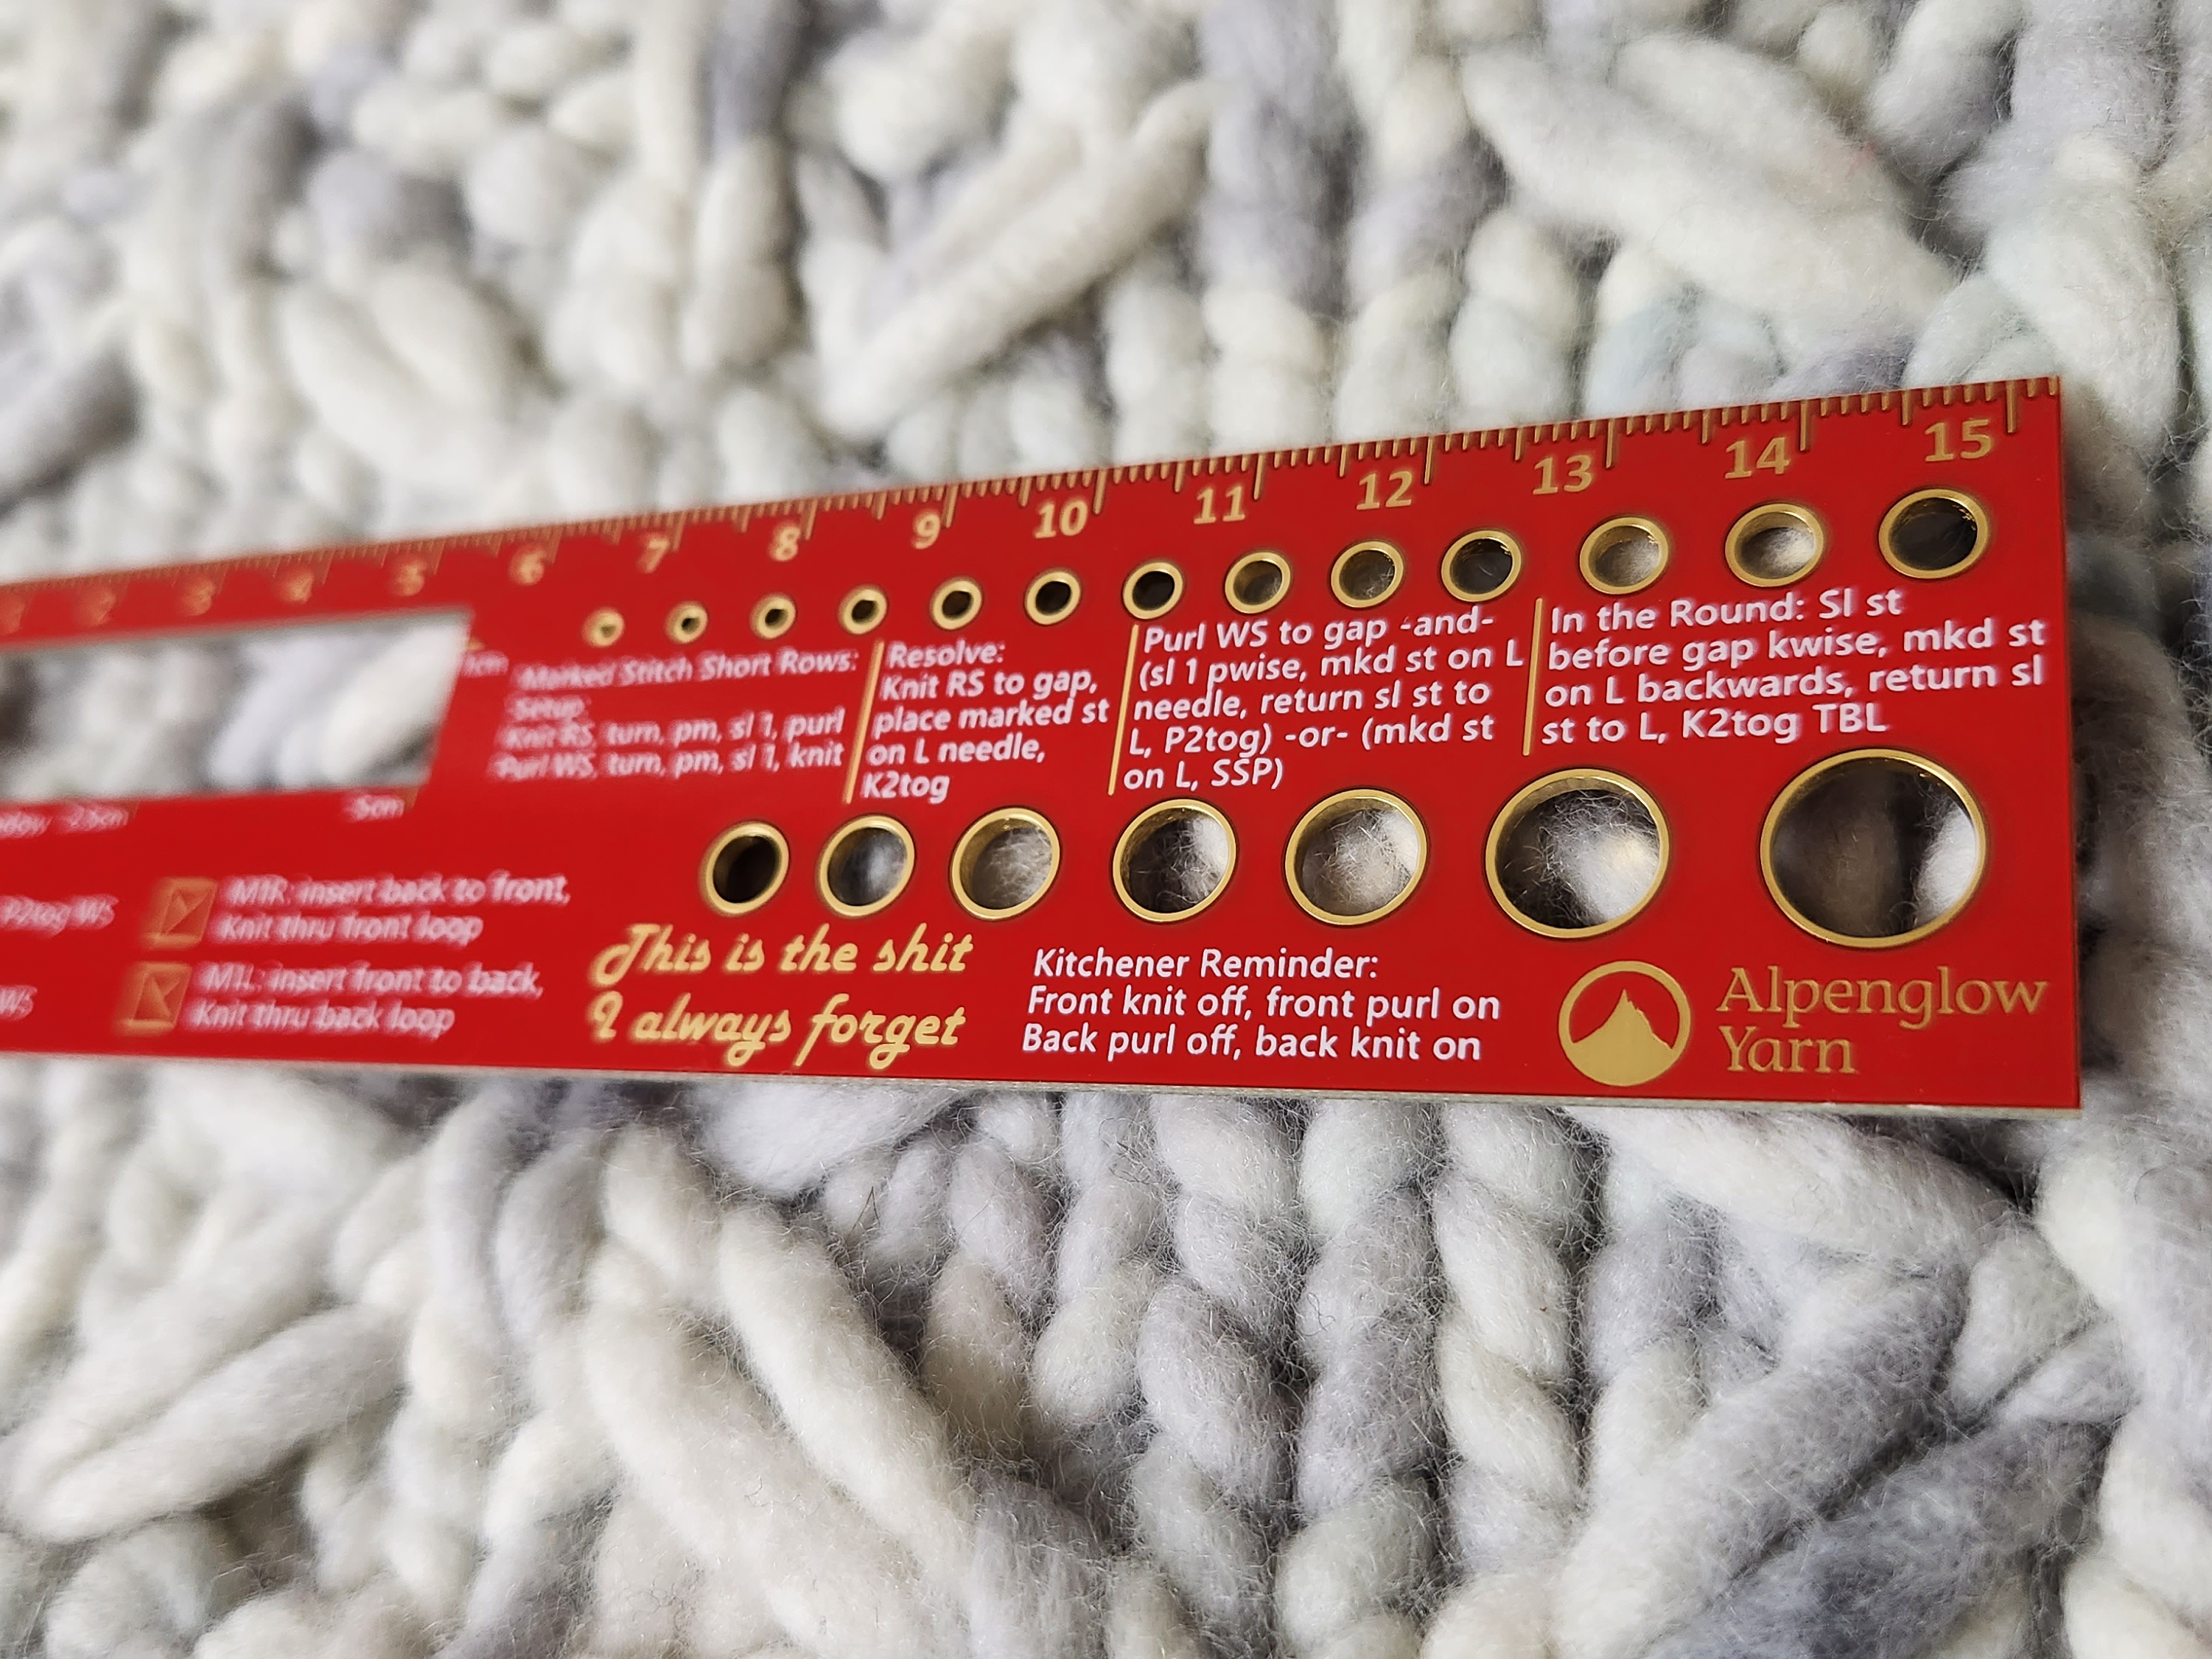
This ruler's got EVERYTHING.
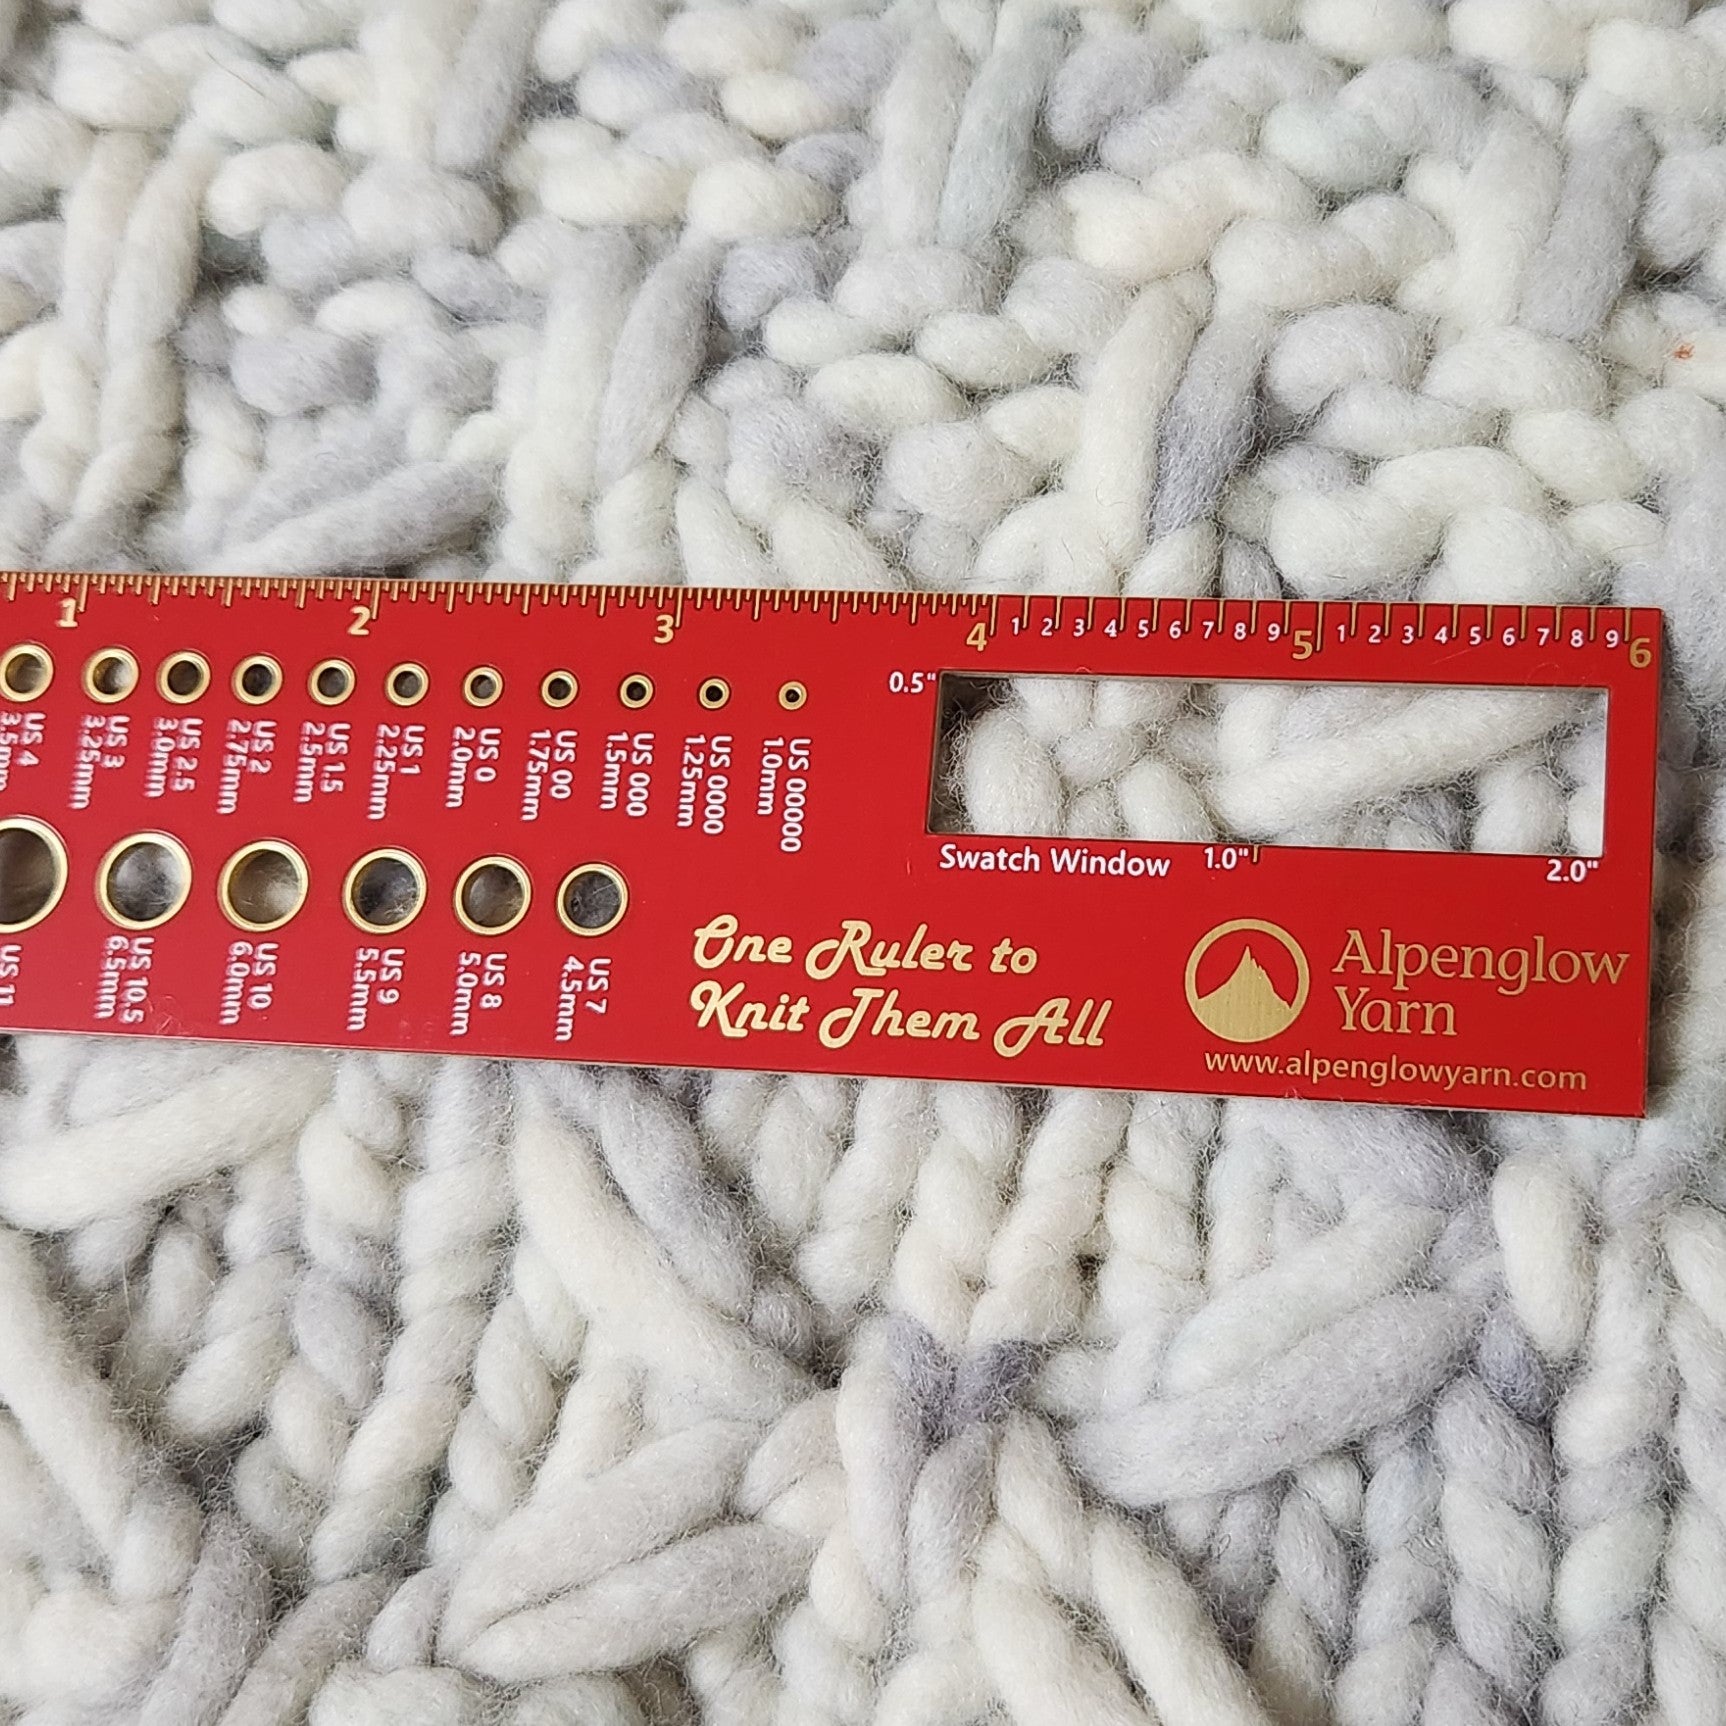
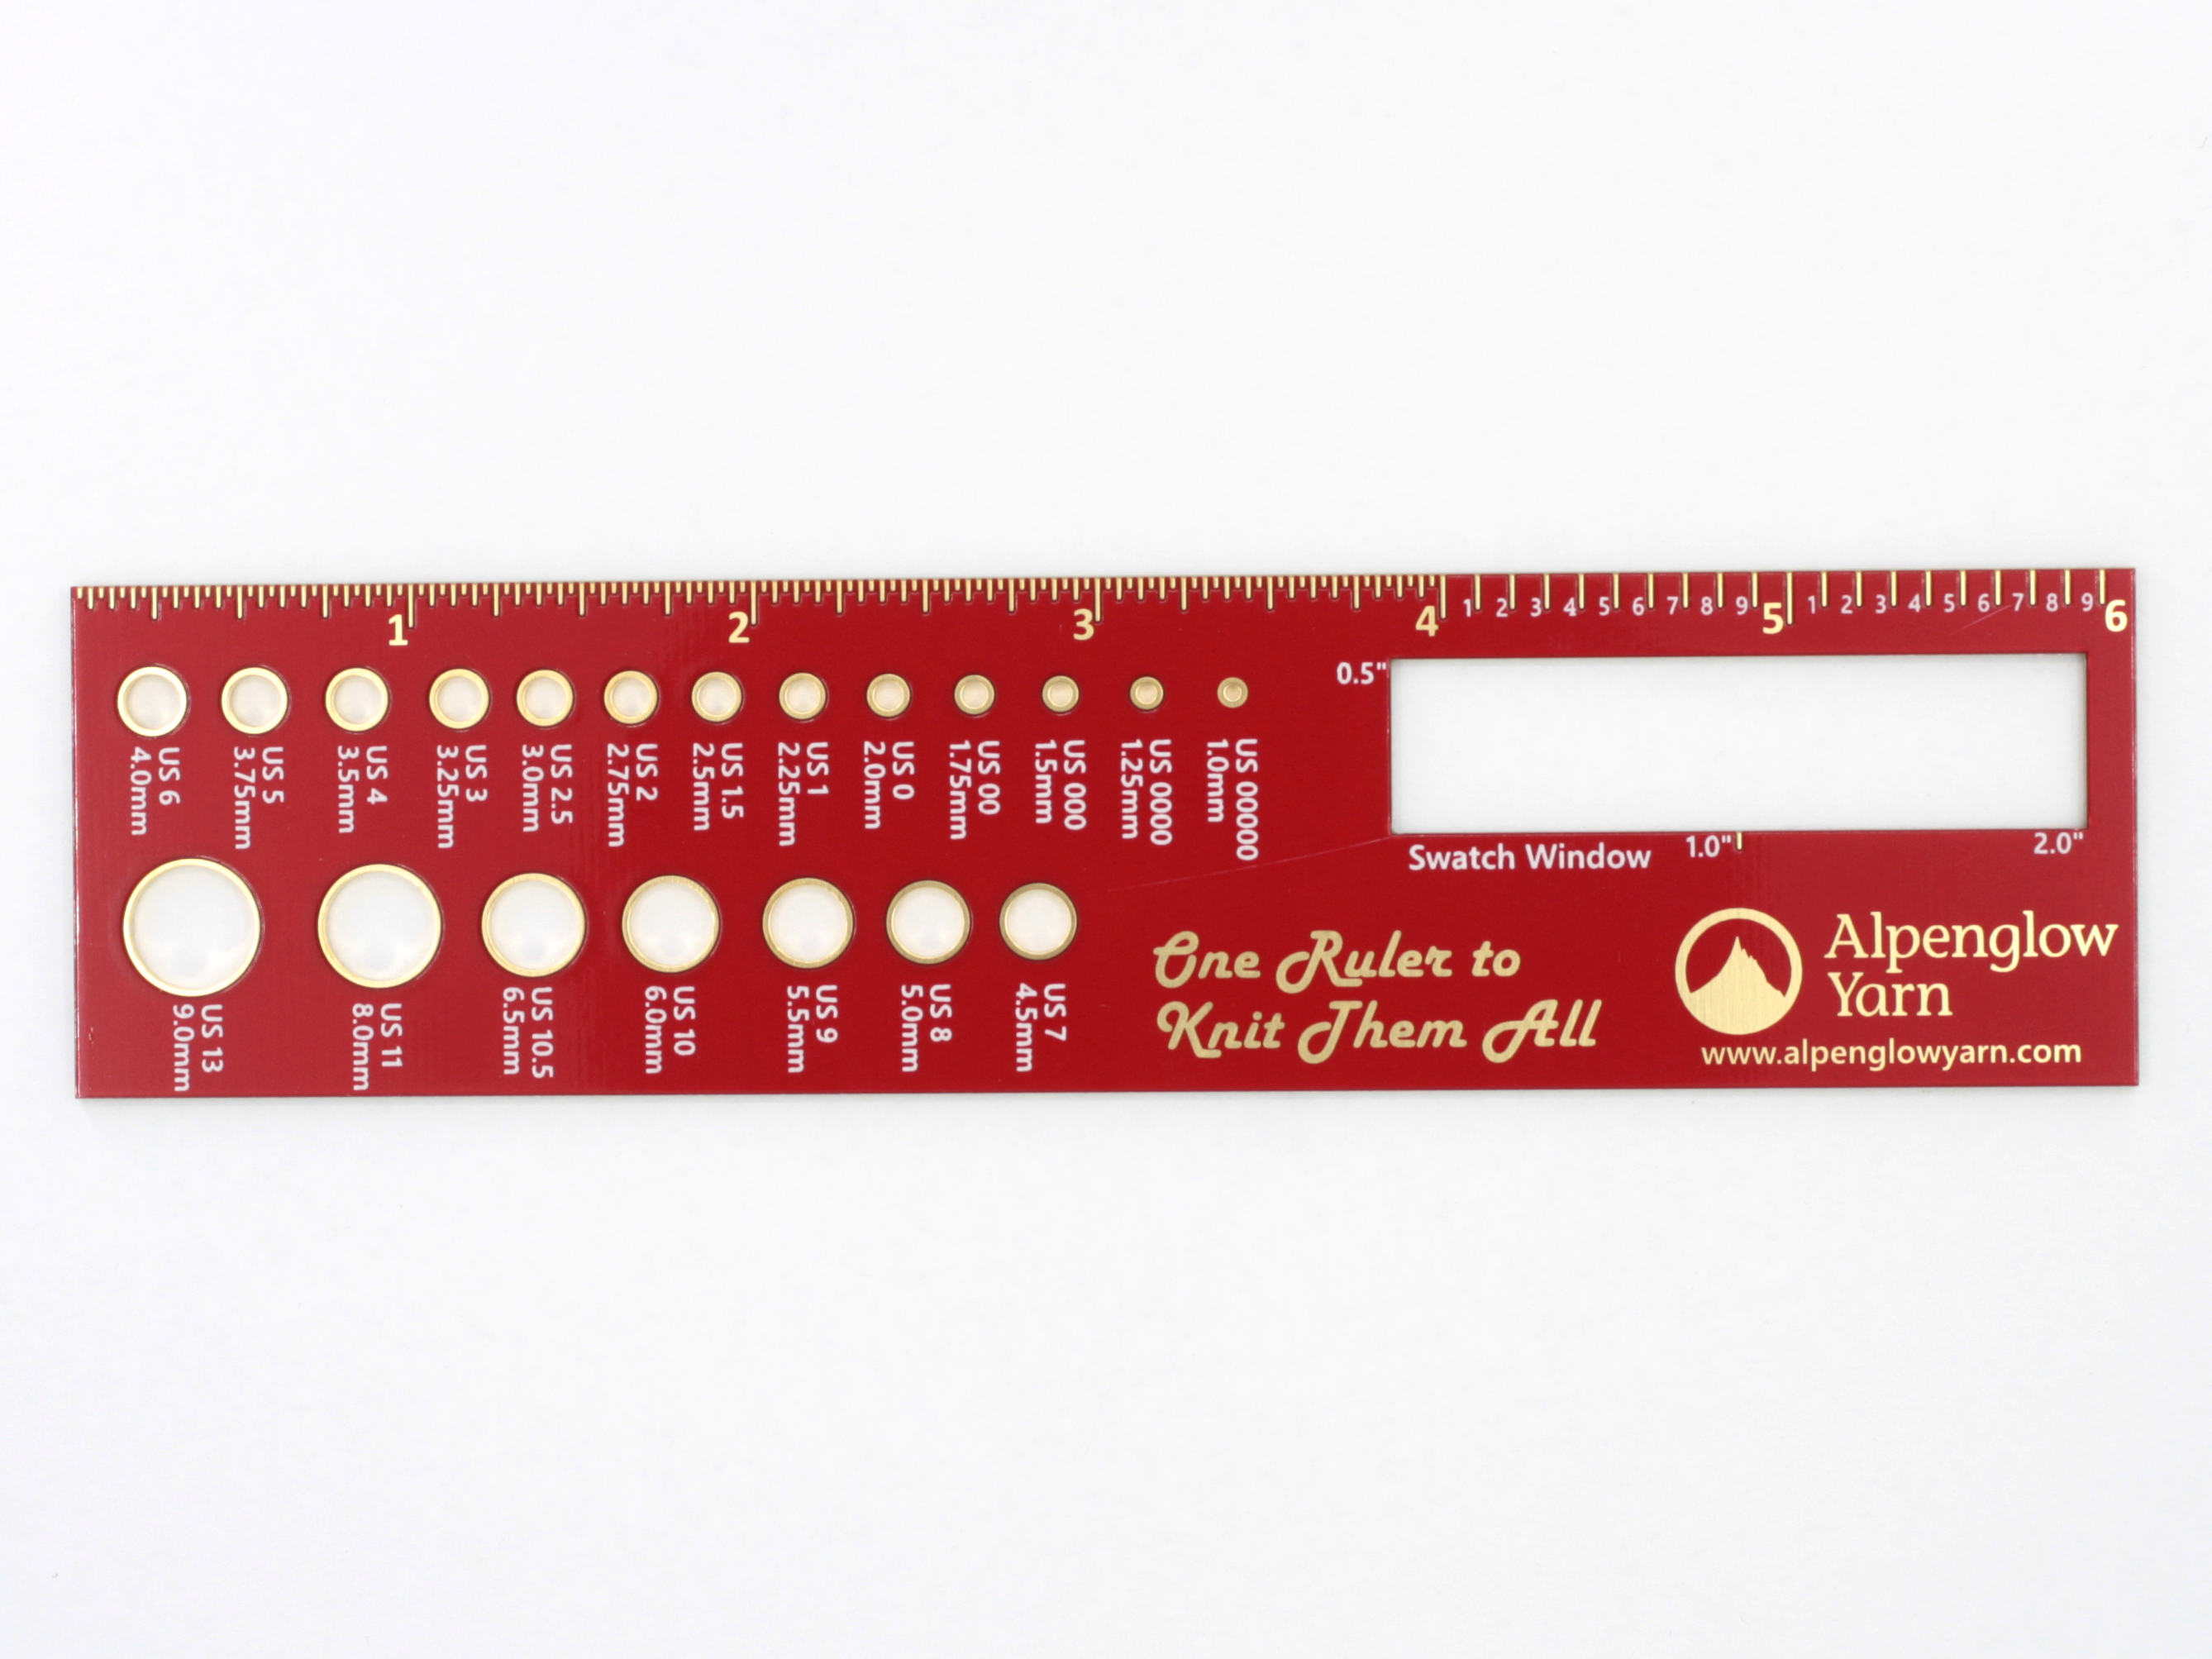
- needle gauge from a crazy tiny 00000 / 1.0mm all the way up to sz 13 / 9mm, a 2" x 0.5"
- swatch window with 2cm x 0.5cm marked on the other side
- 0-6 inch ruler with both fractional and decimal markings and a metric 0-15.2cm ruler on the other side (are you noting a pattern here?)
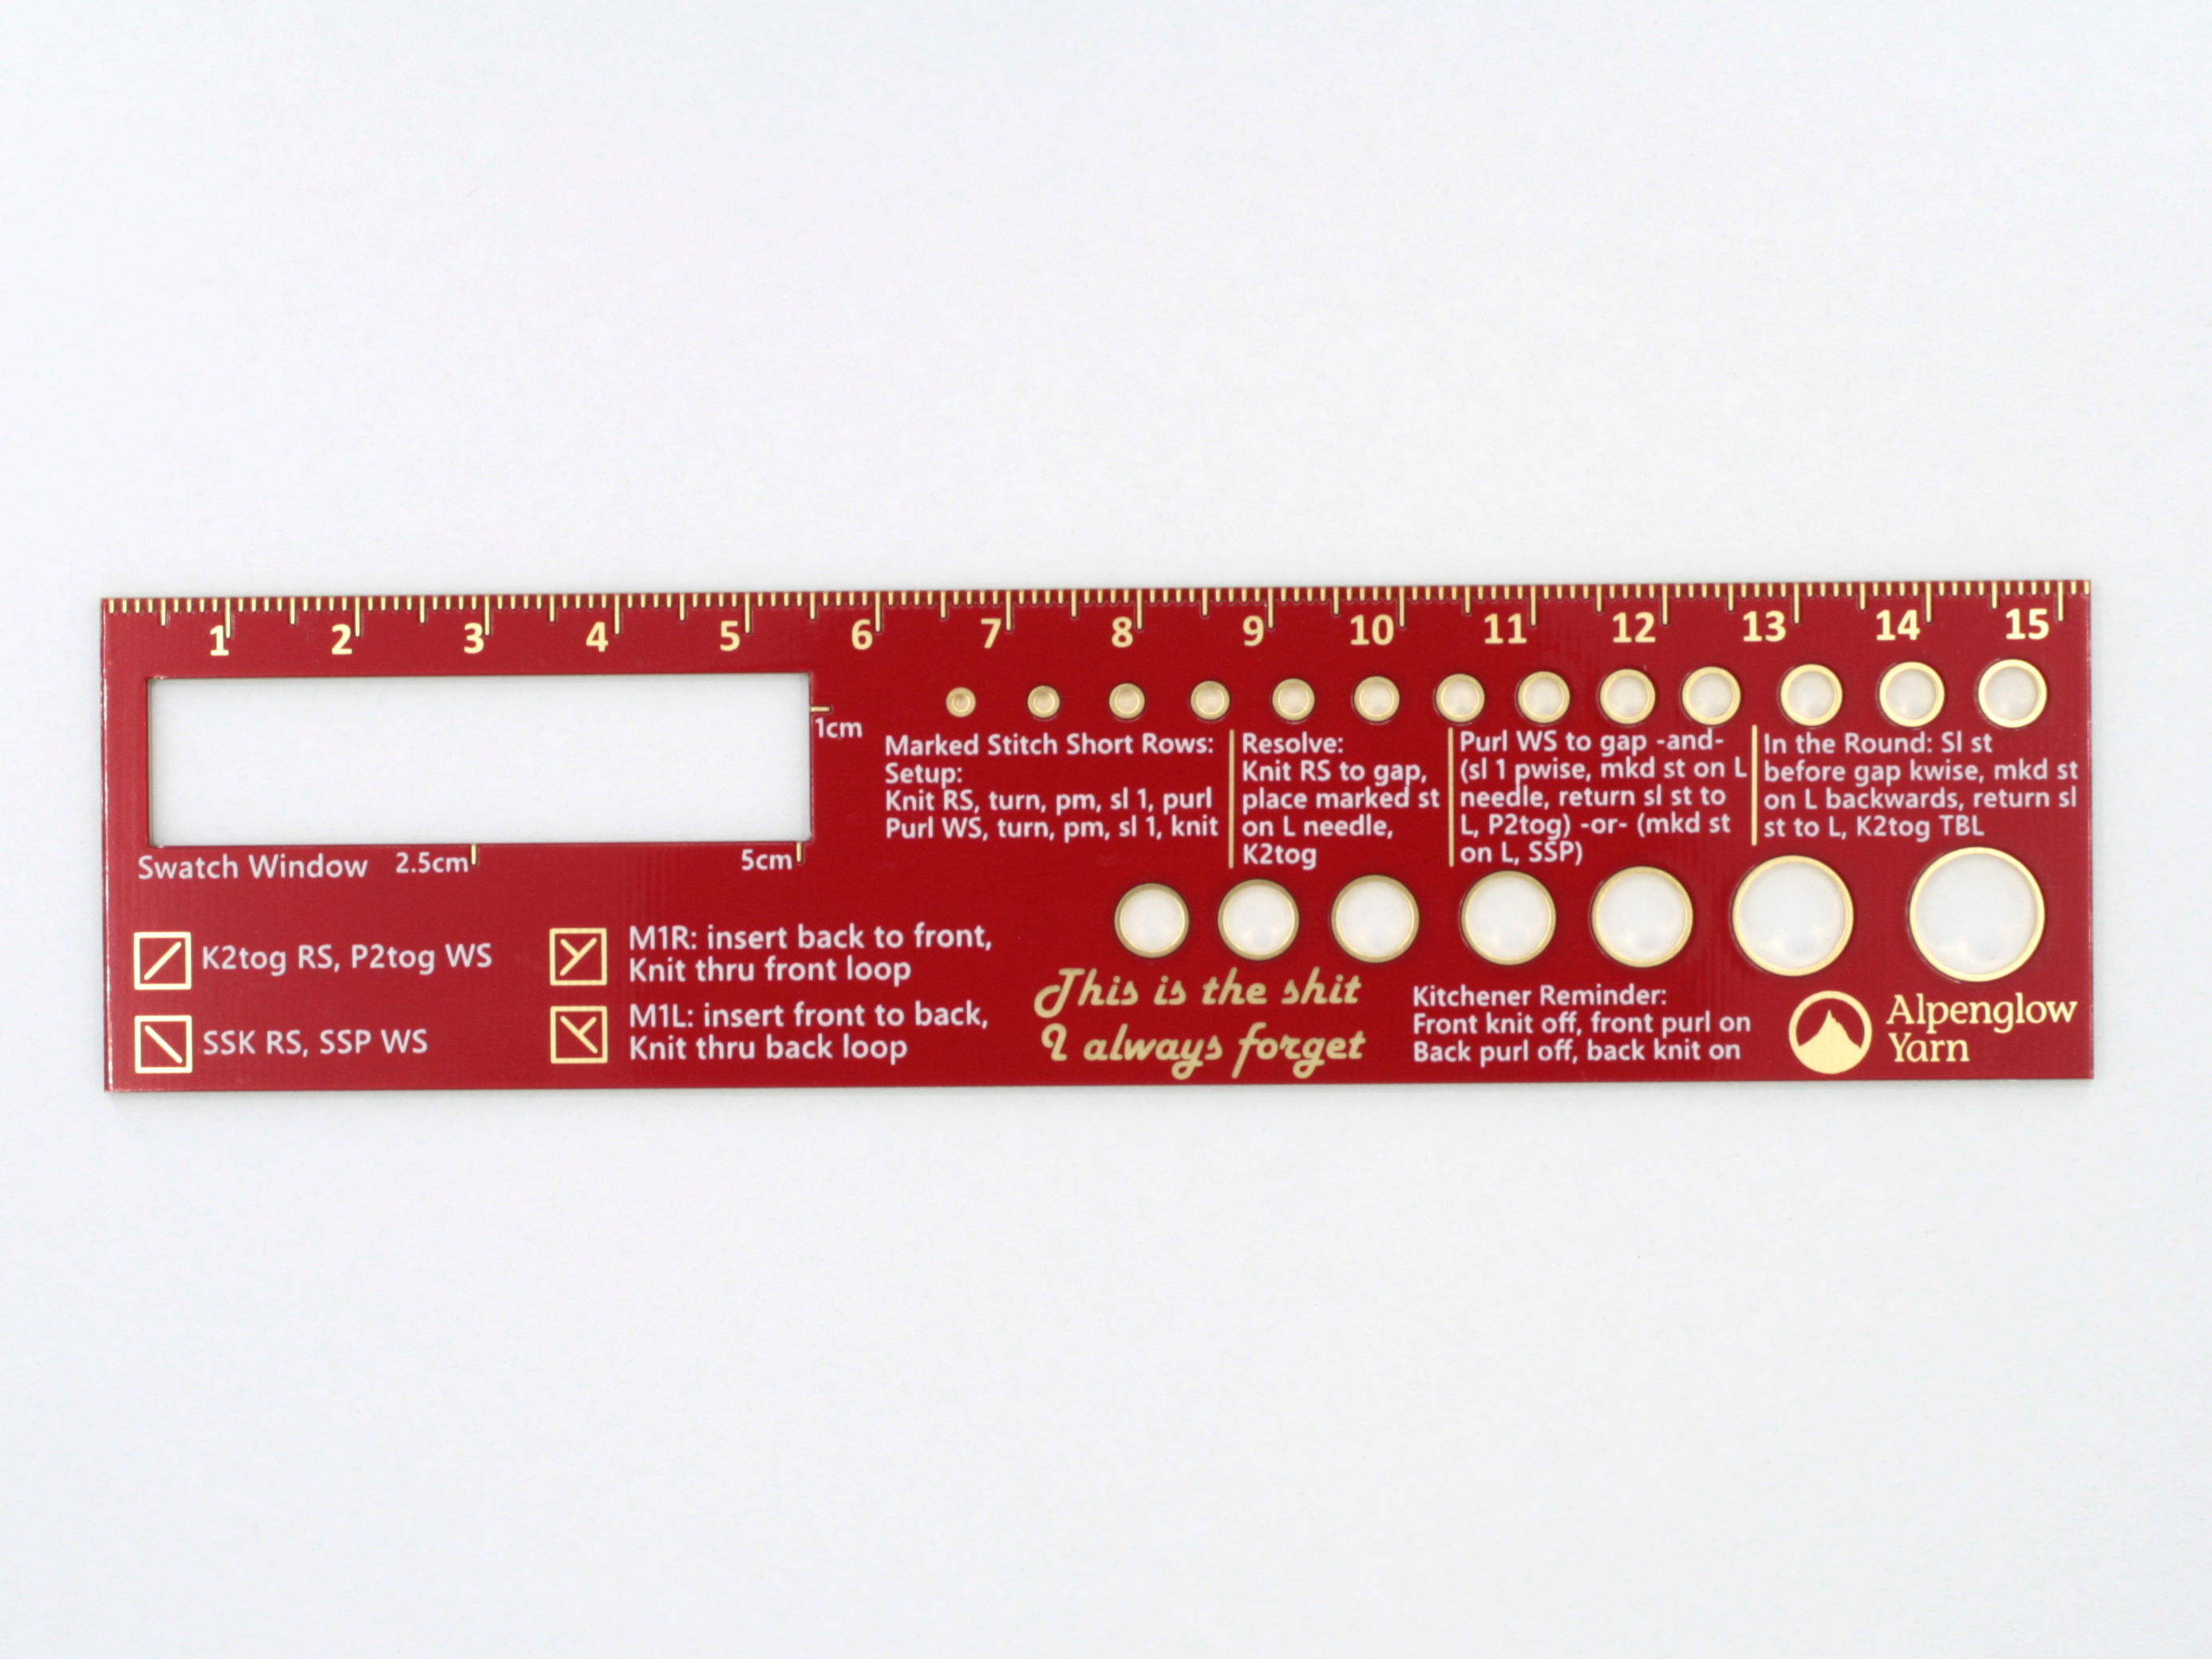
- chart symbols for K2tog and SSK
- chart symbols for M1R and M1L with a handy note on how to do each
- Kitchener reminder for the order of knitting on and purling off
- marked stitch / stitch marker short row shorthand explanation.
- "This is the shit I always forget" in real gold plating! (It's thin, but it's real.)
Here are the fully written versions of some of the handy reminders on the ruler. These reminders are intended to be just that - reminders of how to do things, not full instructions for how to do these techniques if you've never done them before. If the reminders don't work for you, that's OK! We all think about things differently, and the rest of the ruler is still pretty darned handy.
MIR / MIL Reminder:
For whatever reason I can never get these two straight in my head, no matter how many times I do them or how long I've been knitting. Now all I have to do is grab my ruler when I need a quick reminder on which is which.
- MIR (make 1 right): insert your needle from the back to the front of the loop you pull up (this twists the stich), knit through the front loop (a regular knit stitch).
- MIL (make 1 left): insert your needle from the front to the back of the loop you pull up (a regular stitch placement), knit through the back loop (this twists your stitch).
Kitchener Reminder:
Used for grafting together two pieces of knitting, one held on a front needle and one held on a back needle. The graft occurs by weaving yarn through the stitches with a tapestry needle, and either leaving them on or taking them off the needles. The following instructions are for grafting together in a stockinette stitch pattern.
- insert the tapestry needle through the first stitch on the front knitting needle knitwise, take the stitch off the needle.
- insert the tapestry needle through the second stitch on the front knitting needle purlwise, leave it on the needle
- insert the tapestry needle through the first stitch on the back knitting needle purlwise, take it off the needle.
- insert the tapestry needle through the first stitch on the back knitting needle knitwise, leave it on the needle.
Marked Stitch / Stitch Marker Short Row Reminder:
The abbreviations on the ruler are meant to be a reminder of how to do them, not instructions on how to do them for the first time. If you'd like to read a full tutorial, I like this one by Asa Tricosa. The following assume a stockinette stitch pattern (knitting on the right side, purling on the wrong side).
Setup - this section establishes your short rows
- Knit the right side until your pattern tells you to turn for the short row. Turn, place marker, slip 1 stitch purlwise, then purl across.
- Purl on the wrong side until your pattern tells you to turn. Turn, place marker, slip 1 stitch purlwise, then knit across.
Resolve - this section merges your short rows back into your knitting
- Knit on the right side until you get to the gap created by the short row. Your marker will likely be on the back of your work. Place the marked stitch on your left needle, knit 2 together.
- If knitting in the round: knit to 1 stitch before the gap. Slip the stitch before the gap knitwise, put the marked stitch on the left needle backwards (insert needle back front), return the slipped stitch to the left needle, knit 2 together through the back loop.
- If resolving on the purl side: purl on the wrong side until you get to the gap. There are then 2 methods. Method 1: slip 1 stitch purlwise, place the marked stitch on your left needle normally (insert needle front to back), return the slipped stitch to the left needle, then purl 2 together. Method 2: place the marked stitch on your left needle, then slip-slip-purl (SSP).
I hope you find this Knitting Ruler as handy a tool as we do!
The ruler was designed by us, and we used PCBWay for the circuit board fabrication.